
bittersweet symphony
— black cocoa cutout cookies
the perfect harmony of dark nostalgia and bright sweetness in a buttery soft no-spread cutout cookie

Black cocoa became all the rage a couple of years ago, so much so that it seemed like a new invention. The reality? One taste and you realize you’ve known this flavor your entire life — in every kid’s favorite sandwich cookie.
There’s almost nothing I love more than nostalgia. These cookies counter that darkest of bittersweet cocoa flavors with a bright-sweet hint of orange, because it’s intrinsically human to think of the past as sweeter than it was.
I’ve been on a bit of a quest to simplify my rolled cutout cookie recipe as much as possible, and I’ve finally succeeded. This particular version actually has more ingredients than the definitive base recipe, which will make an appearance from time to time on these pages, but it’s still an easy process. Basic ingredients, only a 30-minute chill time, no need to freeze after cutting out shapes, and the most truly no-spead cookie I’ve baked (while remaining soft and buttery).
step one
Prep.
It is important that ingredients are the right temperature. The eggs need to be room temperature. (If you forgot to take them out of the fridge — or just can’t wait to make these cookies — you can speed this up by letting them sit in a bowl of warm water. Warm, not hot. If the eggs are cold enough to chill the water after a few minutes, change it out as needed.) The butter just needs to be softened for this recipe, not room temperature. If you cut it into cubes while gathering and prepping your other ingredients, that will likely do the trick.
Gather your ingredients and tools.
There are very few occasions when I won’t tell you to sift your cocoa. Most cocoa powder is prone to lumps, and some mixing processes won’t be enough to get rid of them. You do not want lumps here. Sift the cocoa.
Add the rest of the dry ingredients to the bowl of cocoa and whisk (gently, of you’ll create a cocoa-flour cloud that will settle e.ve.ry.where) until it is uniform all the way to the bottom of the bowl.
step two
Unlike some recipes, these rolled cookies do not require the type of structure-building that happens when you cream butter and sugar to the point of fluffy, lightened smoothness.
Measure the shortening and sugars into the mixer bowl with the butter and mix at low to medium-low until the sugar is no longer loose in the bowl, give everything a good scrape, then turn the speed up to medium for 45-60 seconds. You’re going for even consistency and giving the sugar a change to begin breaking down.
Next, add the egg, yolk and extracts. Start mixing on a low to medium-low speed to avoid splattering. Once the yolks are broken and beginning to incorporate, increase the speed a notch or two. Give the bowl and beater another good scrape before adding the dry ingredients.
step three
Add about 1/3 of the dry ingredients to the mixer, then mix at the lowest setting until almost totally combined. I strongly recommend turning the mixer off, then repeating the process — otherwise, it can be messy and it becomes quite easy to overmix the dough if the mixer is running.
When the final addition is just shy of looking fully incorporated, give everything a good scrape. Mix at medium-low just until the dough looks uniform and is beginning to pull away from the bowl.
At this point, I scoop or dump it out onto a length of plastic wrap, shape it into a flattened square, wrap it tightly, and tuck it in the fridge. This is a good time to heat your oven. (This is also when I clear away the prep tools and ready my space for rolling, cutting and baking.)
step four
Line two baking sheets with parchment paper and lay out two sheets you’ll use when rolling out the dough.
Cut the chilled dough in half, place the first half between the sheets of parchment, and roll to a uniform thickness. I like my cookies to have some weight (and think this is why people consistently say they look like they came from a professional bakery), so I tend to roll my dough 3/8” thick. If you’re using a larger cutter or just want a more dainty cookie, roll to a more traditional 1/4” thick.
Give your cookie cutter a quick dip in flour, tapping off excess, and repeat every couple of cutouts (or more frequent if the dough is sticking). Transfer cut cookies to the lined sheets, leaving plenty of space between. Gather the scrap dough together, set aside, roll and cut the other half of the dough, then combine the scraps, and roll and cut until all the dough is used.
step five
I prefer to bake one sheet at a time, because my oven is small, older, and not the most even with the baking. If yours doesn’t have such limitations, you can bake two with racks in the upper and lower third of the oven — in which case, I recommend rotating halfway through the bake time.
You will not see golden edges on a black cookie, so you’re looking for the tops to just lose their slight wet sheen. The size of the cookie will affect bake time. For a 3” cutter, I suggest taking a peek at about the 9-minute mark, just in case, but 10 minutes is typically perfect. Because they will continue to bake a bit once the sheet is removed from the oven, you won’t want to go longer than 11 minutes.
The cookies become firmer as they cool, so allow them to sit for 4-5 minutes before attempting to move. Remove them to cooling racks, and let them cool for at least 1 hour. Decorate or store them once they are completely cooled.
products helpful in making this treat
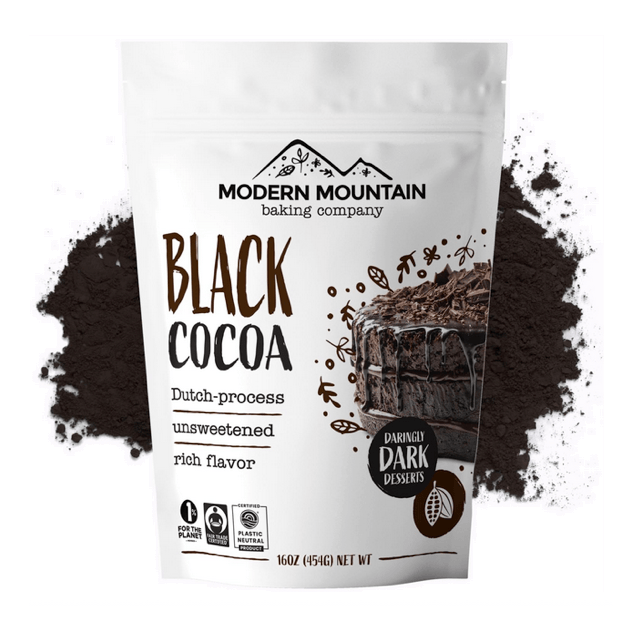
black cocoa powder
kitchen scale
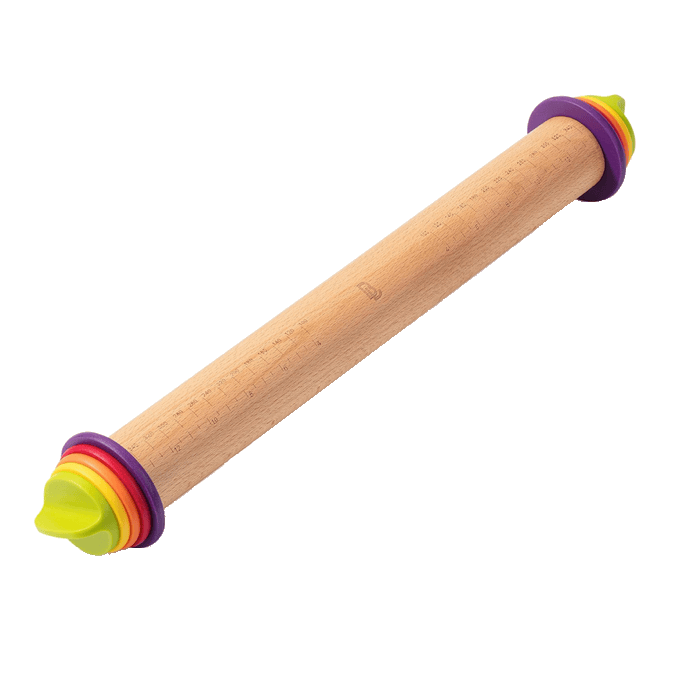
adjustable rolling pin
half sheet pans
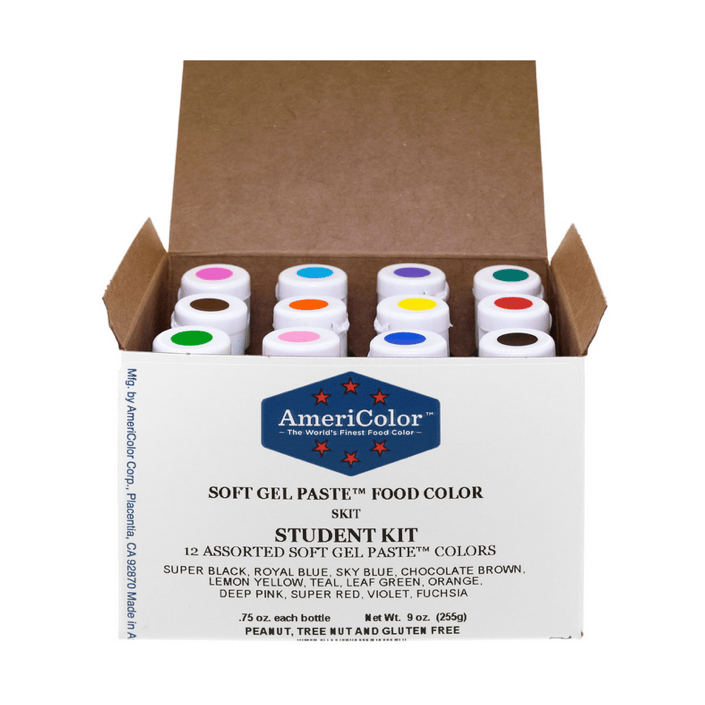
gel food coloring
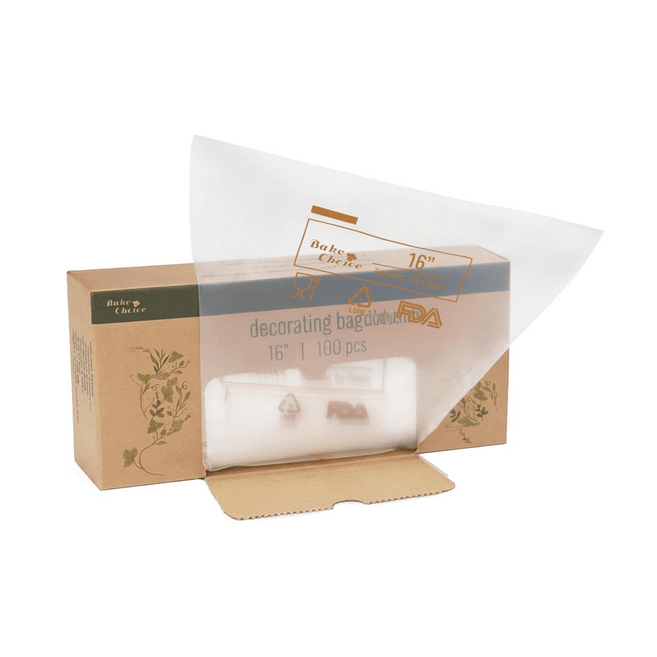
disposable pastry bags
did you know?
many of the King Arthur products recommended here and throughout the blog can be found via the company store on Amazon — if that simplifies your shopping, go for it (life is complicated enough already) SHOP KING ARTHUR ON AMAZON HERE
as an associate in the Amazon and King Arthur affiliate marketing programs, flour+sugar earns a small commission from qualifying purchases made via links on this site
bittersweet symphony
— black cocoa cutout cookies
makes 24

did you make this treat? please give an insta SHOUT OUT! mention @flour_sugar_homebaked_treats

INGREDIENTS
2 + 1/2 cups (325g) good all-purpose flour
1/2 cup black cocoa powder, sifted
2 teaspoons cornstarch
1/4 teaspoon salt
3/4 cup salted butter, softened
1/2 cup (96g) shortening
1/2 cup granulated sugar
1/2 cup light brown sugar
1 egg + 1 yolk, room temperature
1 teaspoon good-quality pure vanilla extract
1 teaspoon pure orange extract
INstructionS
In a medium-large bowl, whisk the dry ingredients thoroughly and set aside.
In the bowl of a stand mixer fitted with the paddle attachment, cream the butter, shortening and sugars until smooth.
Add the egg and extracts and mix until well incorporated.
Add the flour mixture in thirds and mix on low/medium-low until incorporated. Give bowl and paddle a scrape, then mix on medium-low for 30 seconds (the dough should begin to pull away from bowl).
Wrap the dough tightly in plastic wrap and refrigerate for 30 minutes.
Preheat the oven to 350° with the rack set in the center.
Roll out the dough to 1/4” thickness between sheets of parchment paper. Use a cookie cutter to cut out desired shape(s). Place cutout cookies two inches apart onto a baking sheet lined with parchment paper.
Bake for 9-12 minutes (adjust based on cookie cutter size), until the tops of the cookies look just barely dry in the center.
Remove from the oven and allow cookies to cool on the pan for 4-5 minutes before transferring to wire racks to cool completely.
Let cookies cool for at least 1 hour or overnight before decorating.